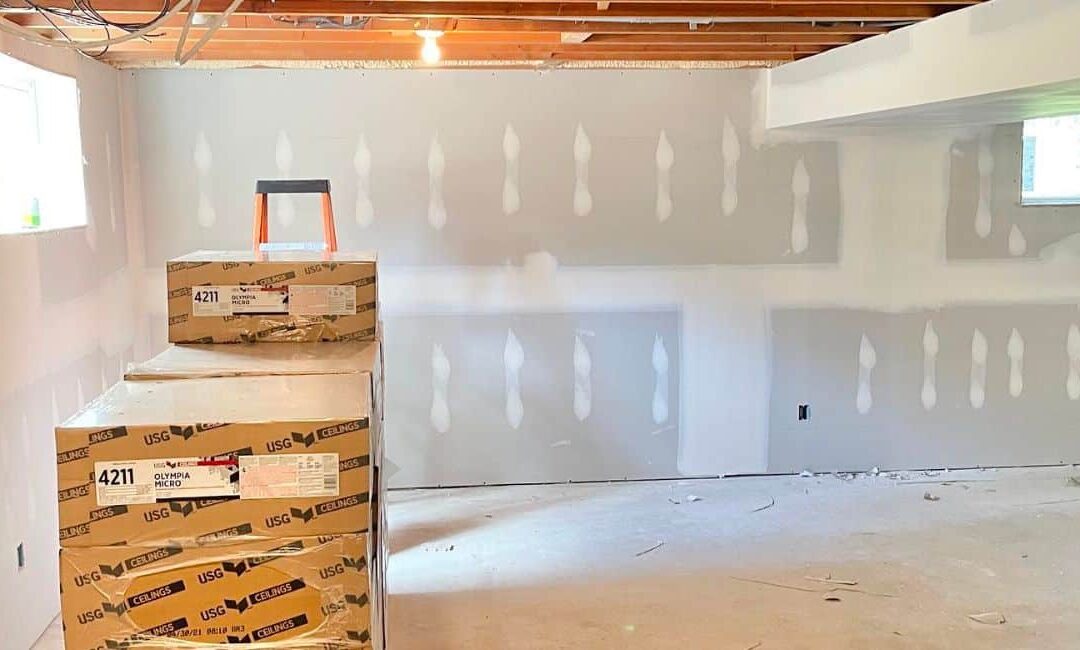
When it comes to transforming your basement into a cozy and inviting living space, drywall is your best friend. But what exactly is drywall? At its core, drywall consists of a layer of gypsum, a mineral known for its fire-resistant properties, sandwiched between two...
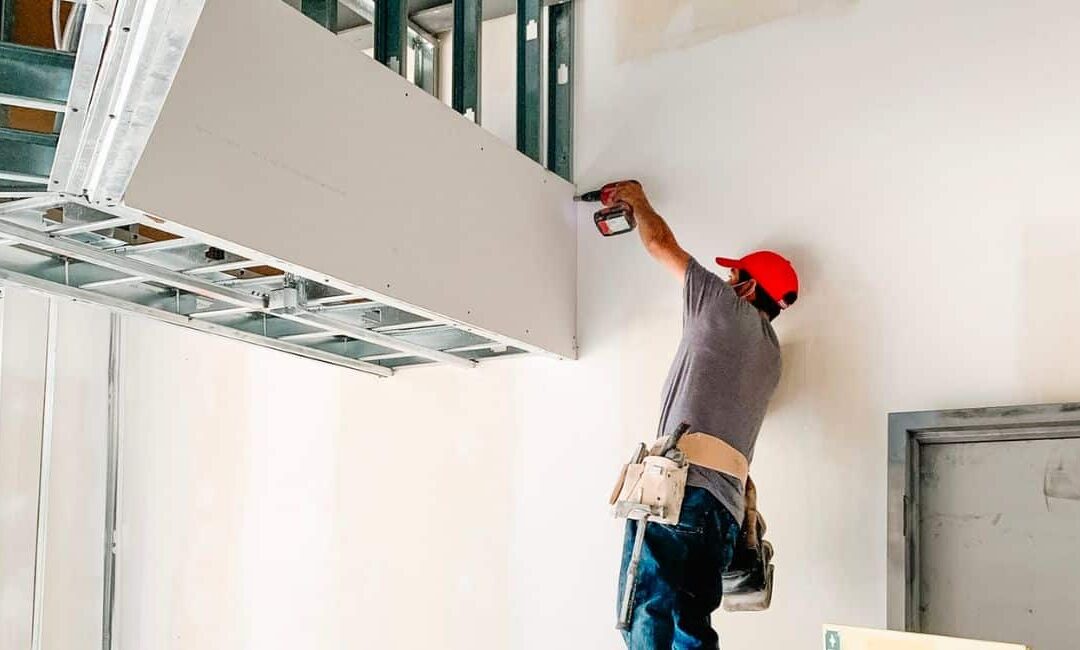
When it comes to drywall installation, hiring professional contractors can make a significant difference in the outcome of your project. Not only do we possess the expertise and specialized knowledge needed for a successful installation, but we also offer several...
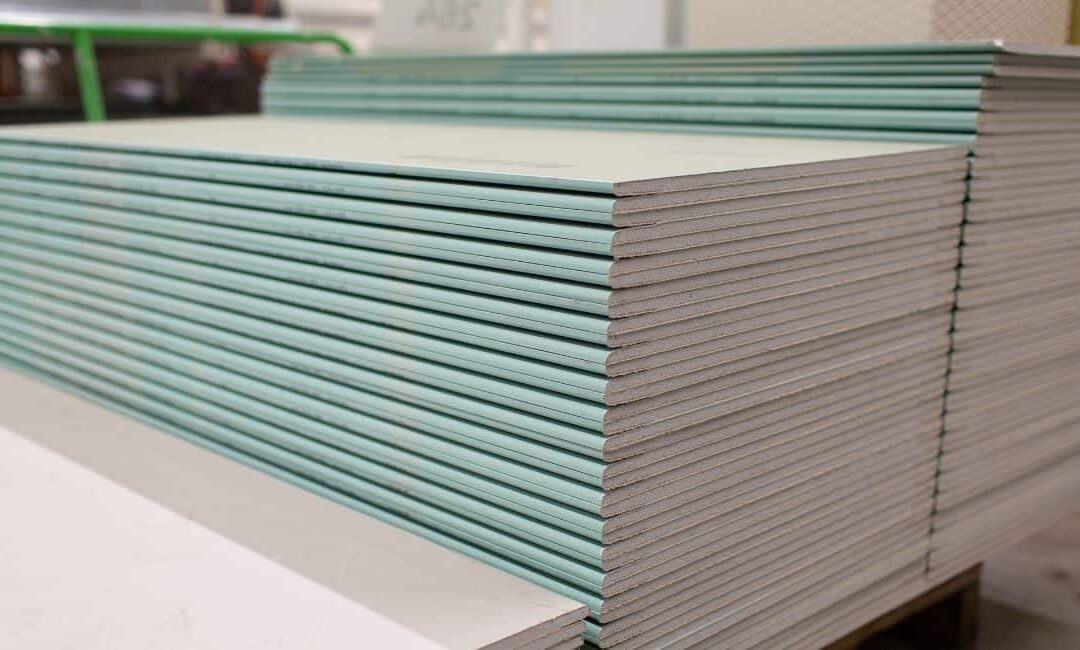
Drywall has become an essential material in the construction industry due to its versatility, affordability, and ease of installation. It provides a durable and attractive finish to interior walls and ceilings, while also providing insulation against temperature...
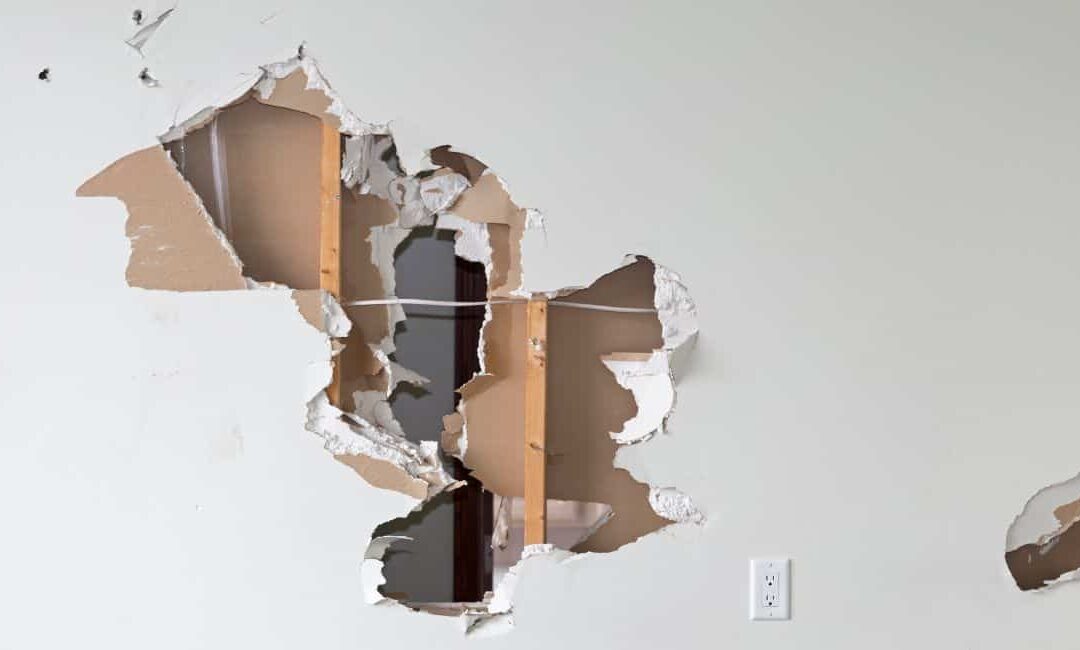
Drywall can be prone to damage from various causes such as moisture, impact, or age-related wear and tear. So when it comes to repairing drywall issues, homeowners are often faced with the decision of whether to repair or replace it entirely. However, there isn’t a...
As a versatile and cost-effective building material, drywall has become a staple in modern construction projects. It’s hard to imagine a world without this essential building material that plays a crucial role in the creation of beautiful and functional...


Recent Comments